Around these here parts, we are BIG fans of vision boards. HUGE. It’s not only a fun activity—flipping through your favorite magazines and ripping out colorful pages—it’s also an excellent exercise in taking a step back and focusing on what you want in life. What kind of people, places, things and experiences do you see in your future? The famous quote from Yogi Berra sums it up: “If you don’t know where you are going, you’ll end up someplace else.”
Don’t get us wrong, we’re not shaming people who like to fly by the seat of their pants—you do you—we’re just saying the world is a big place where anything can happen. Why not plan to have some of it happen for you? So dream big, write those dreams down, make a plan to work towards those dreams, then set that plan to action! Need a little help getting your #lifegoals together? Take a look at our steps below on how to create a vision board.
Step 1: Gather Your Tools
To get this party started, you’re going to need the following:
- Scissors
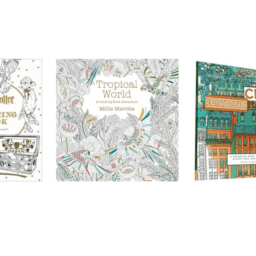
- Magazines – No need to run out and buy a bazillion new mags! Check with your local grocery store, bookstore, office front desk, dentist or doctor’s office to see if they’ll donate their old issues to you. Ask friends if they have any to spare too, or better yet, tell them to bring some magazines and wine and come on over!
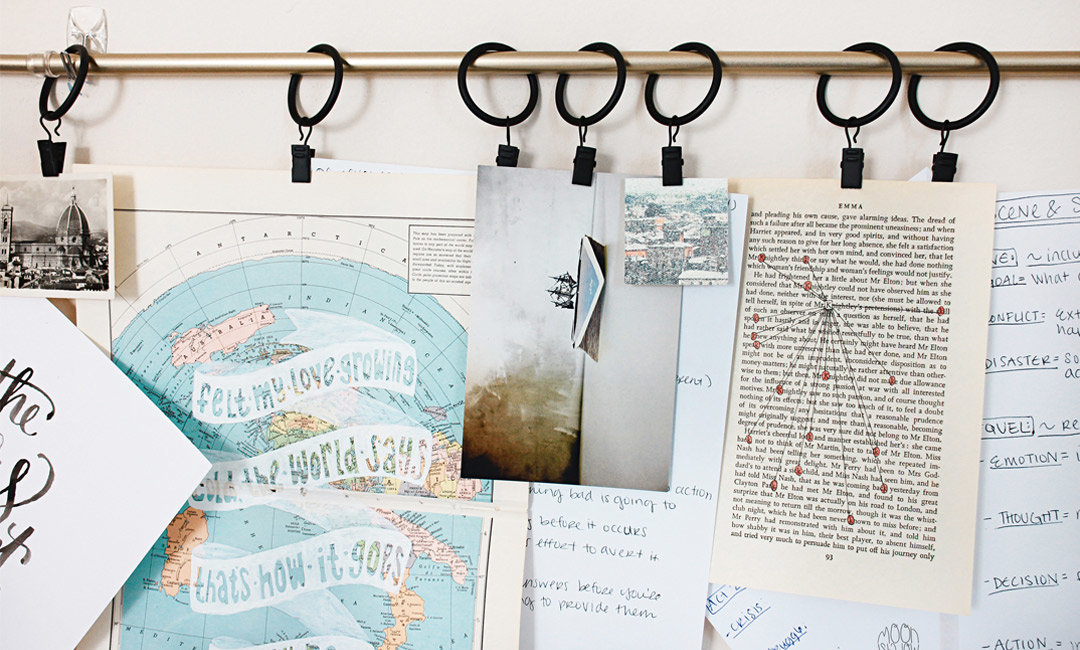
- Poster Board or Cork Board – There are pluses for both—you can’t go wrong. If you do a poster board, you can glue the magazine clippings down and frame your board to hang on your wall. If you go the cork board route, you can switch up your vision board seasonally, monthly, daily—whenever you want! (We love these from Amazon.) Psst… the fun doesn’t stop at poster and cork boards. (Our featured photo is a cool idea!) Check out our Vision Board Pinterest Board for a ton of other creative ways to build your vision boards.
- Glue Stick or Cool Thumbtacks – If you decide on a poster board, you’ll need some glue. We prefer to use a colorful glue stick because it’s easy, you can see where you’re applying the glue and hey, purple is neat. You’ll need thumbtacks if you decide on cork boards. There are all kinds of designs or you can choose a simple style and let your images do the talking.
- A Wide-Open Work Space – You’ll want a lot of floor space to lay your magazine pages out before you lock them in place on your board. We like to use the floor but if you have a large crafting or dining table (LUCKY!), that will work too.
- Music – Put on some tunes in the background to get yourself in a creative and fun mood.
- An Open Mind – Don’t get caught up with old plans, expectations or what you think is realistic. Really let yourself dream up any possibility.
Step 2: Flip Through Magazines
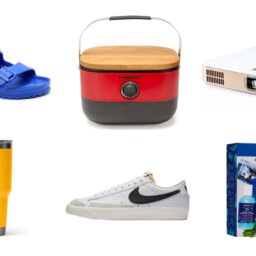
Spend some time flipping through magazines and tear the pages out that really inspire you. See a family in front of a house? See a woman backpacking solo through Spain? See a woman in a designer suit flying first class? (Oh we see you, girrrl.) See a horse gently flipping his mane, tossing glitter in the air? See a puppy? Whatever stops you in your tracks, tear the page out. You don’t have to lock on it until later. Just start to pull out pages that spark something within. Even if the images don’t align with your current goals, tear them out. Who knows, maybe they’ll inspire a dream, idea or goal you didn’t even know you had. (This is so fun, right?!)
Step 3: Pick Your Faves
Decide on the magazine pages you want to use on your board and use your scissors to cut and shape them. Cut them all into the same sized square, circle or rectangle or go rogue and cut them based on what looks best for the image.
Step 4: Map Out Your Vision Board
Use your open space to lay out all the trimmed magazine pages so you can really see what you’re working with. Arrange them by color or theme or just what looks nice next to each other. You’ll want to plan them how you will want the finished project to look, especially if you’re using glue. Once that bad boy is stuck on there, it’s not coming off!
Step 5: Attach to the Board
Carefully use your push pins to attach your art to your cork board. Or, use the glue stick to paste them onto your poster board.
Step 6: Hang and Enjoy
Frame your new fancy vision board on the wall of your office or stick it on your fridge, wherever you will see it daily. Then take a step back and enjoy that you took some time for yourself to dig deep and focus on what makes you happy. Pro tip: Snap a pic of your vision boards. You can use it as your phone or computer’s background to keep them top of mind! Plus, it’s always fun to look back on past vision boards to see what was important to you. They really tell a story on you becoming you.
Share your vision board on Instagram and tag us @shopcartageous so we can see them! Want more inspiration? Check out our Vision Board Pinterest Board filled with TONS of super cool vision boards.
Featured photo by Joyce McCown on Unsplash
Melody Rose Rowan is the CEO + hostess with the mostess at @CuteStays. When she isn’t blogging about style and interior design for her blog MustacheMelrose.com, Melody can be found renovating @MaxineTheAirstream with her husband, Scott, or playing with her two rescue dog-sons, Jake and Finn. Say hi at @mustachemelrose!